Initial Lease Application
If you'd prefer to watch a video covering this material, you can access it here. The password is: +En1xC1s
Invitation Email
When you apply for a unit, your property manager will send you an email inviting you to complete your lease application. The email will give you a basic description of the process involved as well as any other information the property manager wishes to pass along.
Most importantly the email will contain a link you can click to gain access to the MyCommunity web portal.
When you first access MyCommunity you will be prompted to create a password. This password can be changed later.
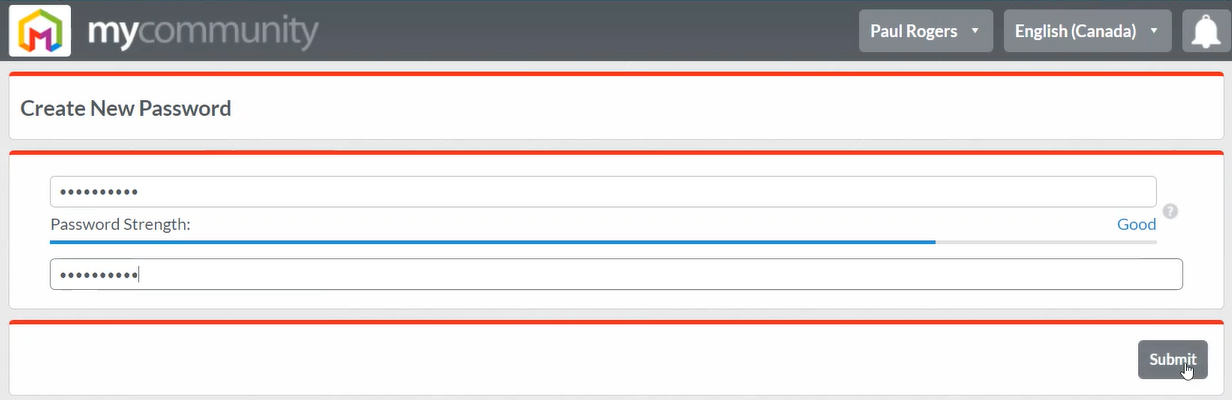
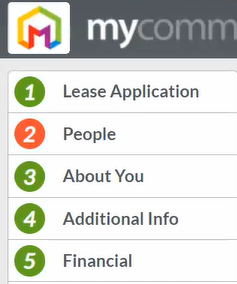
With your password entered you can proceed to the 10 steps of filling out your lease application. Each number section will display in green once it has been completed and red if there are any errors in the section you need to review.
1.) Lease Application
This section of the application process will have you review information provide about your landlord, unit, lease terms and various features included in the lease agreement.
Should any of the features require additional information you will be prompted to supply such information (E.G. for a monthly parking spot the property manager may require your to enter your vehicle's details.)
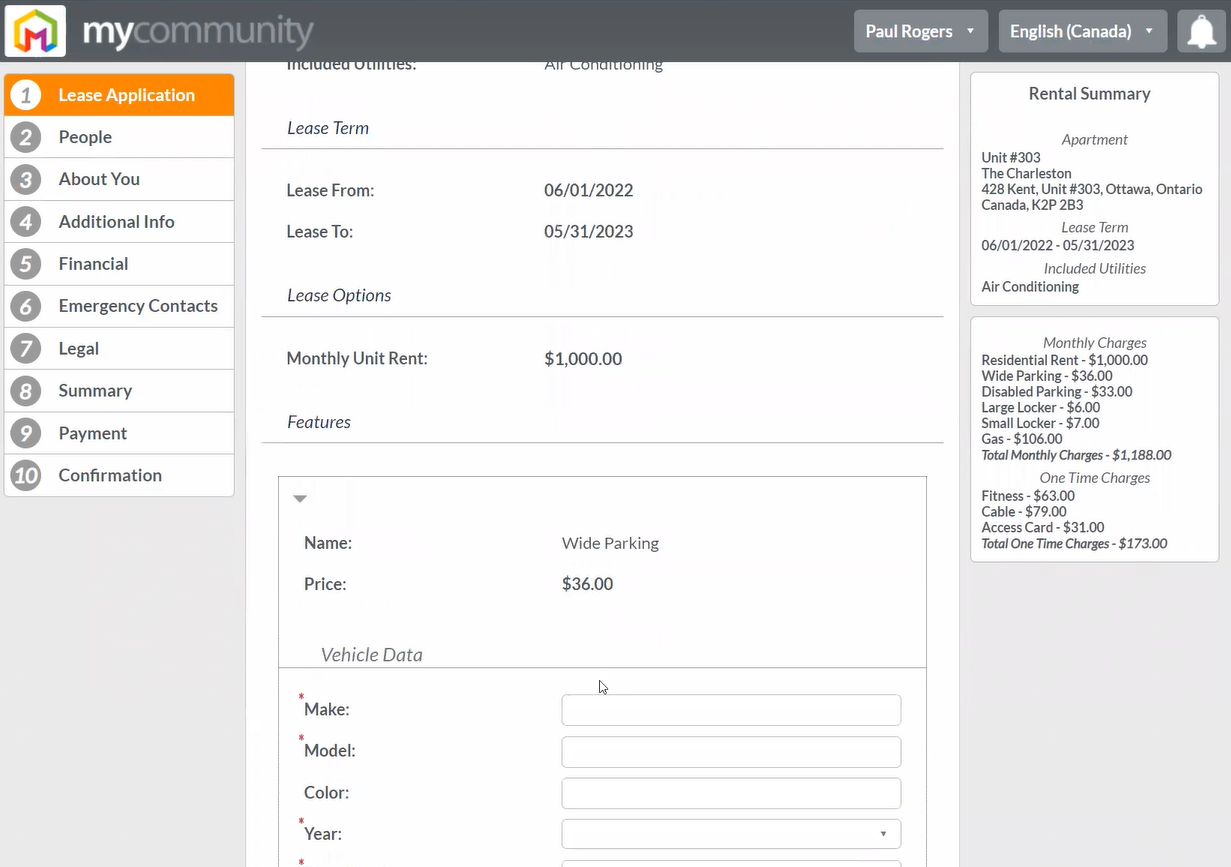
Once you've reviewed all of the lease application details, scroll to the bottom and press "next".
2.) People
This section will have you review all co-applicants and dependents which you will be able to add, modify or remove.
Any Co-applicants that are added with a valid email and are approved by the property manager will receive an invitation to complete their application by email once the main applicant completes their part.
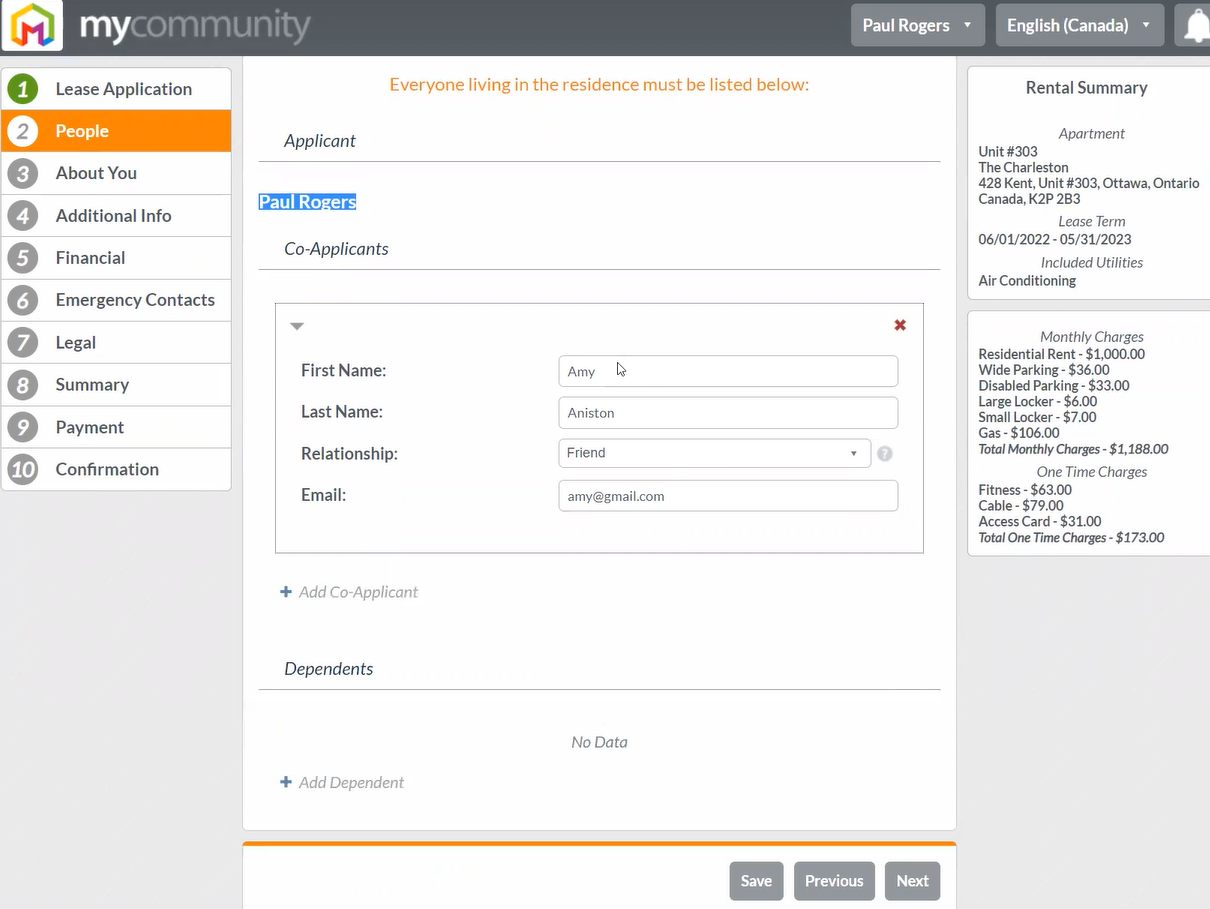
Once you've reviewed all of the people details, scroll to the bottom and press "next".
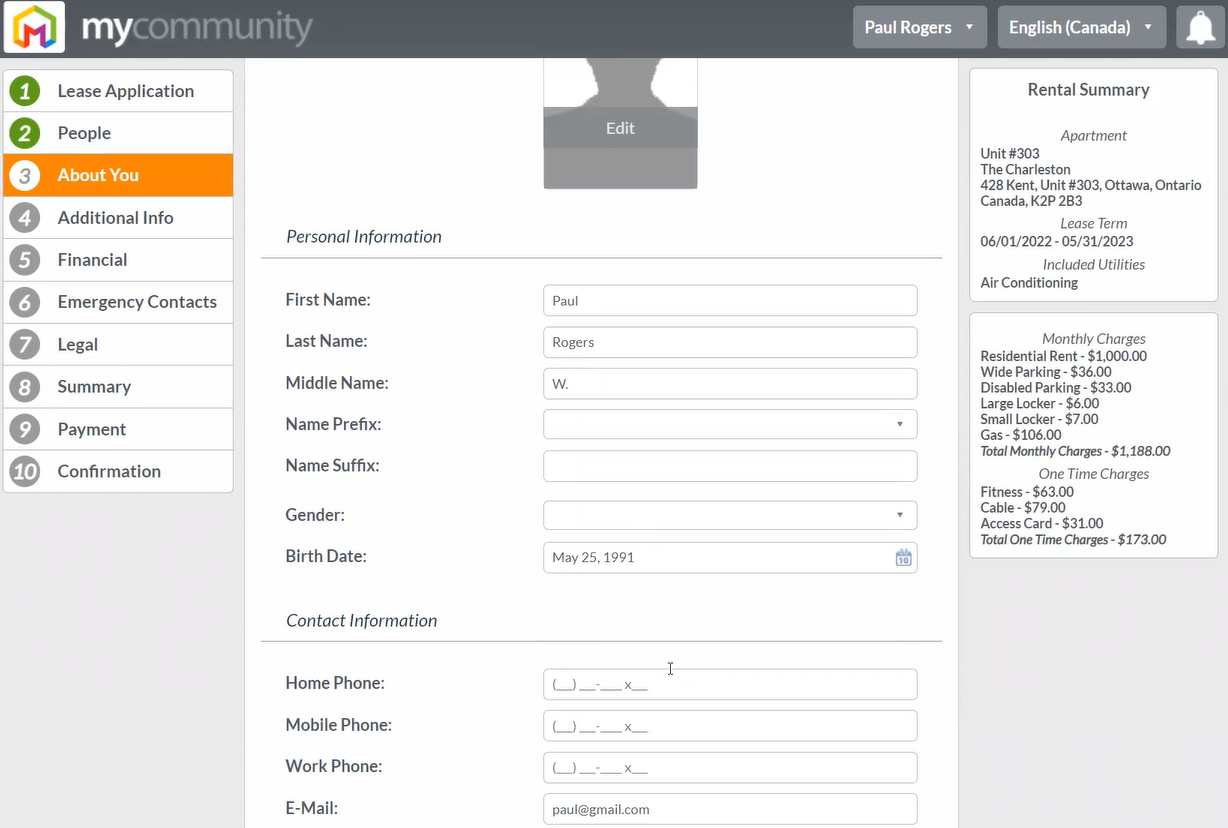
3.) About You
This section will allow you review your personal information.
You will be able to edit/upload a picture of yourself.
You will also be able to edit your personal information (Name/Gender/Birthday) as well as your contact information.
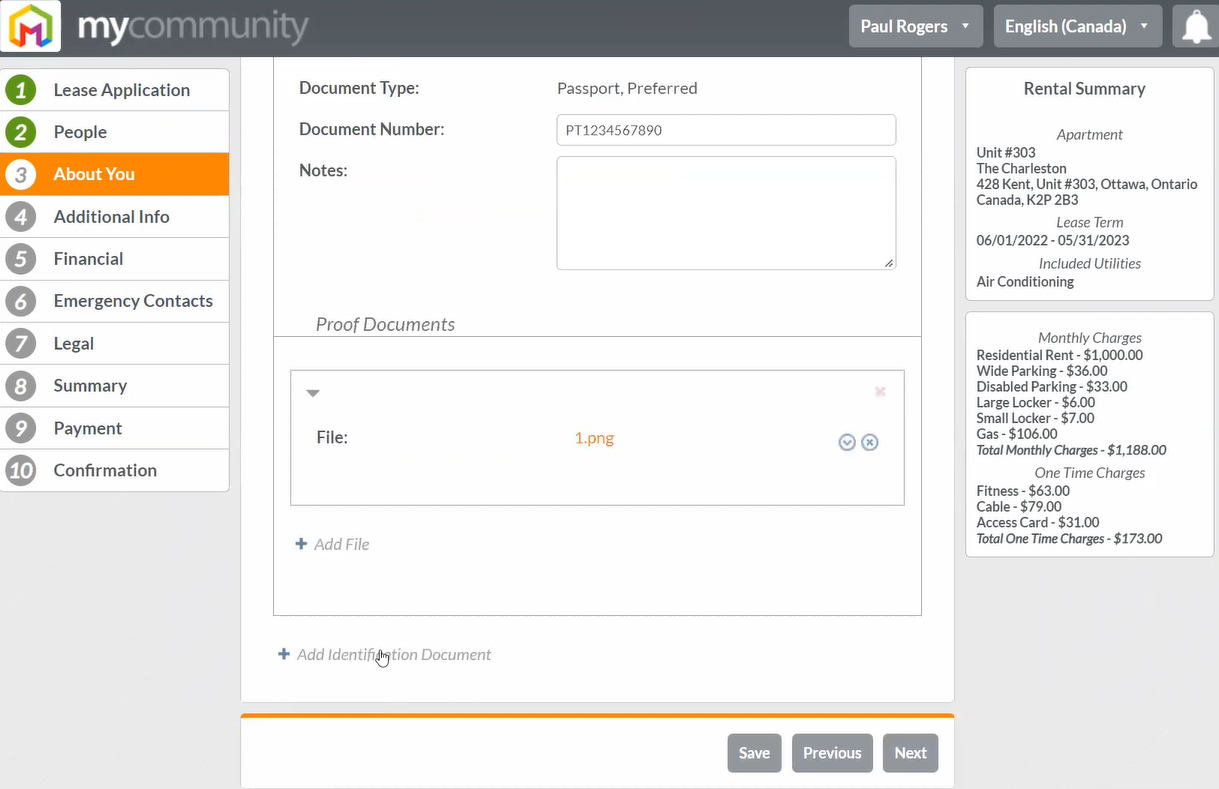
The last section of this area will be for providing any identification documents that the property manager has requested. You will be prompted to enter the appropriate information about the document and upload an image for proof if necessary.
Note that a property manager may require no documents, may require several documents or may leave it optional entirely to upload any documents.
Once you've reviewed all of the details about you, scroll to the bottom and press "next".
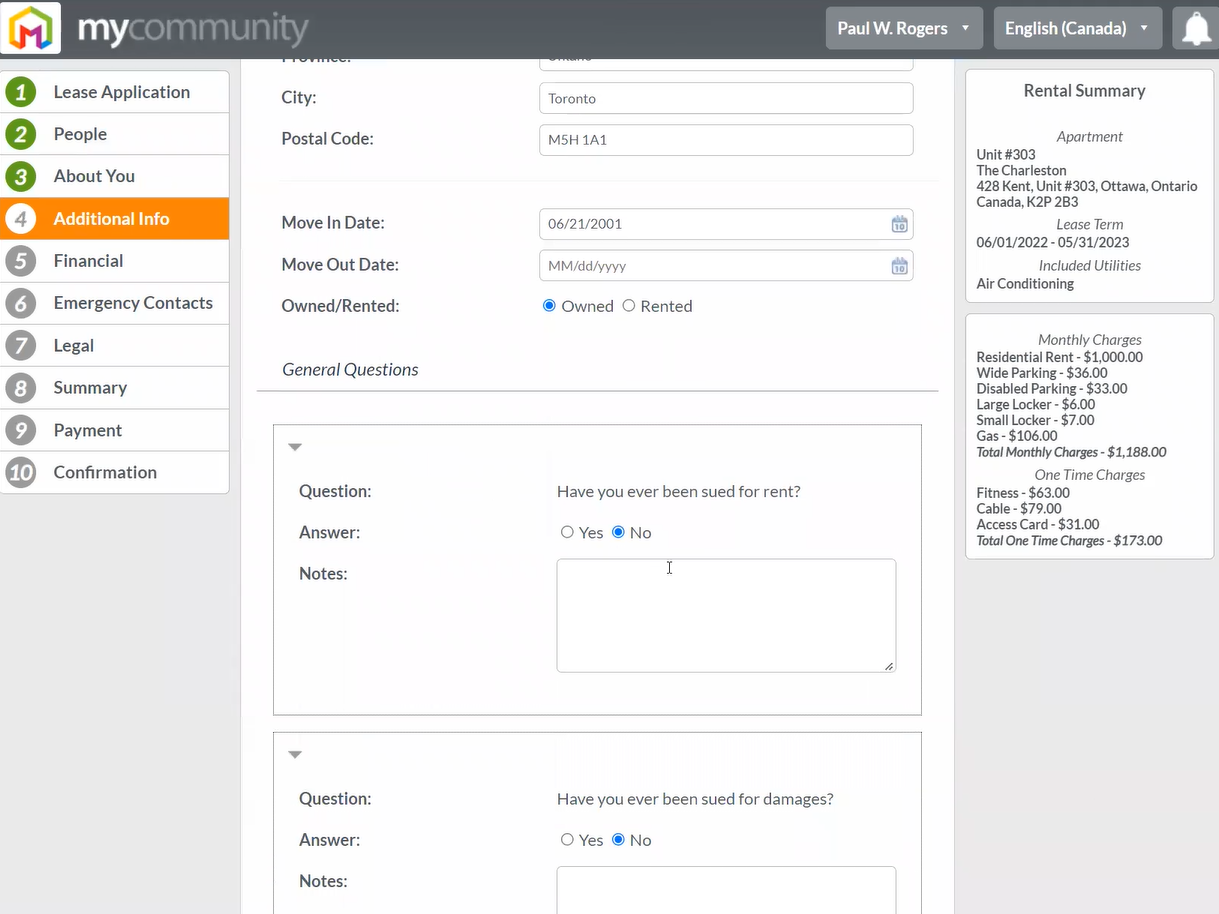
4.) Additional Information
This section is for you to review your current address, move in/move out date and if you owned or rented.
There will also (optionally) be additional general questions that your property manager may request you fill out.
Finally there is a reference question at the bottom which will ask how you found the unit/property manager.
Once you've reviewed all of the additional information, scroll to the bottom and press "next".
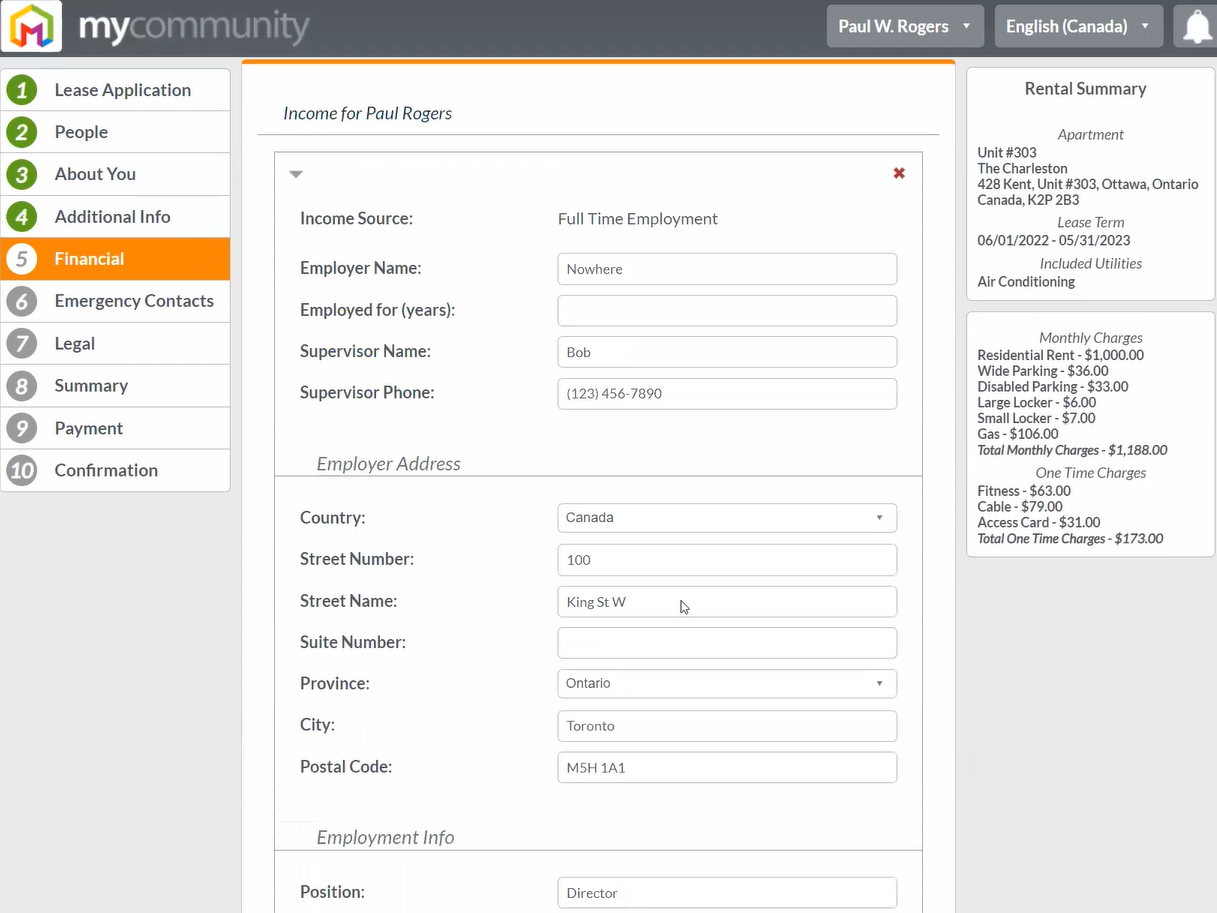
5.) Financial
This section will cover all of your financial information
First it will prompt you for your personal income source. Simply click "+ Add Personal Income" and then from the list select the appropriate income source.
Depending on your selection new fields may appear to fill out (E.G. selecting Full time employment will supply appropriate fields to fill out your employment and employer details).
Additionally, depending on your selection you may be required to upload proof documents.
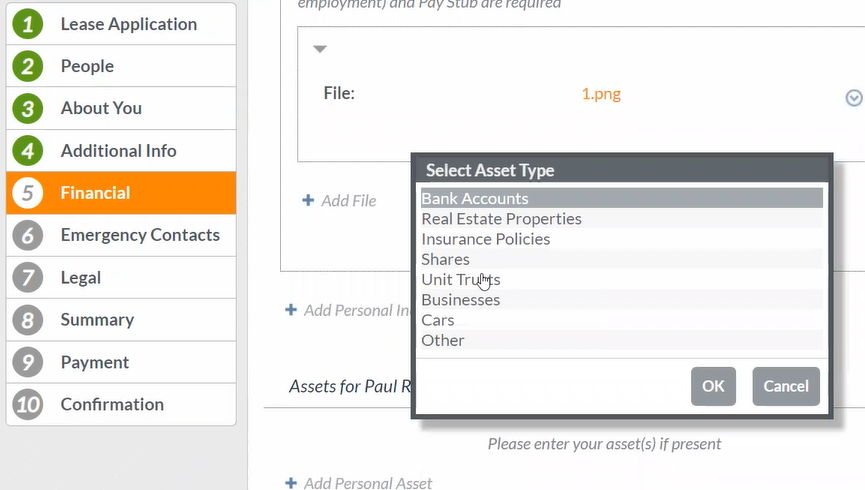
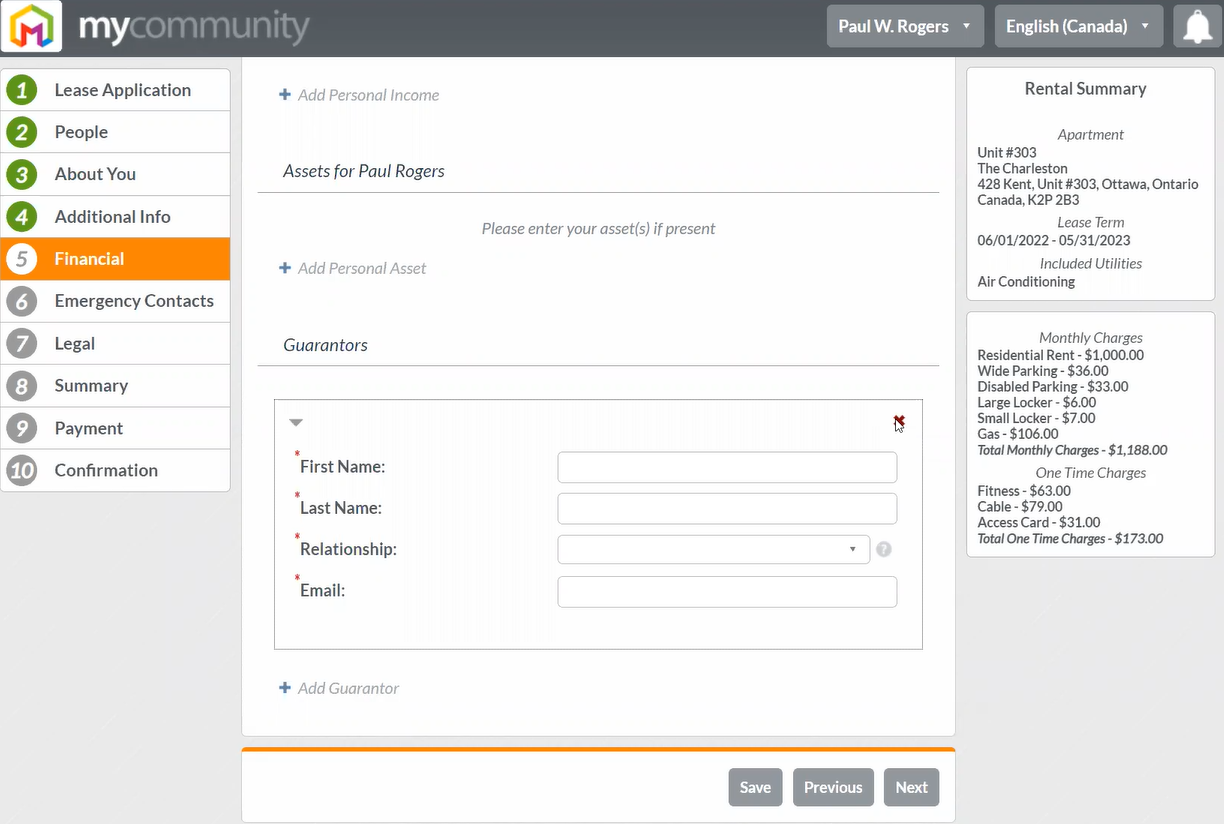
Once all of your income sources are listed you can move on to the adding assets. Similarly additional information may be required depending on your selection.
Finally, if required by your property manager you can add a guarantor.
Once you've reviewed all of the financial information, scroll to the bottom and press "next".
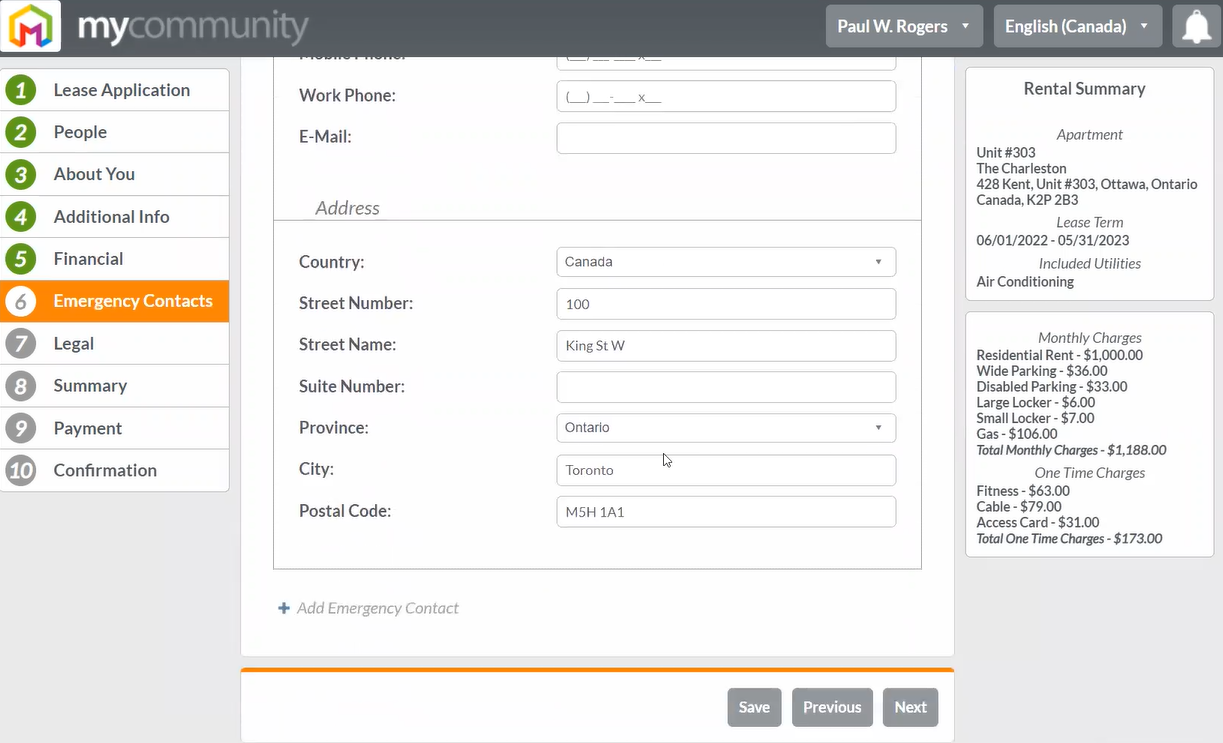
6.) Emergency Contacts
This section is simply used to enter emergency contacts. Fill in the information as required. If necessary you can add multiple emergency contacts by press "+ Add Emergency Contact".
Once you've reviewed all of the additional information, scroll to the bottom and press "next".
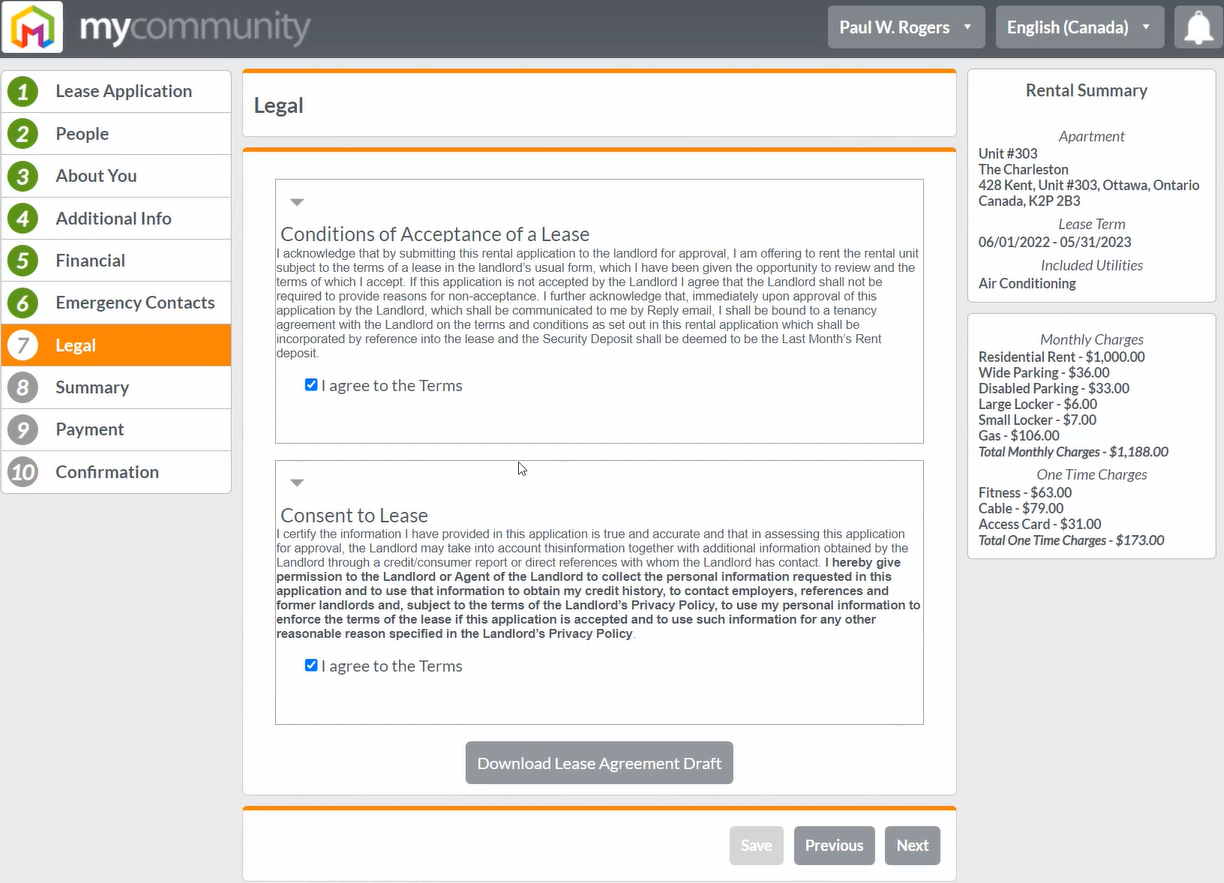
7.) Legal
This section requires you to agree to the terms of 'conditions of acceptance of lease' and 'consent to lease'.
You also have the option to download the lease agreement draft as a PDF onto your device.
Once you've agreed to the terms, scroll to the bottom and press "next".
8.) Summary
The summary section is just a section to pause and double check all of the previous steps have been fulfilled correctly. If you see any red X's you will need to review the section and correct any missing or erroneous fields.
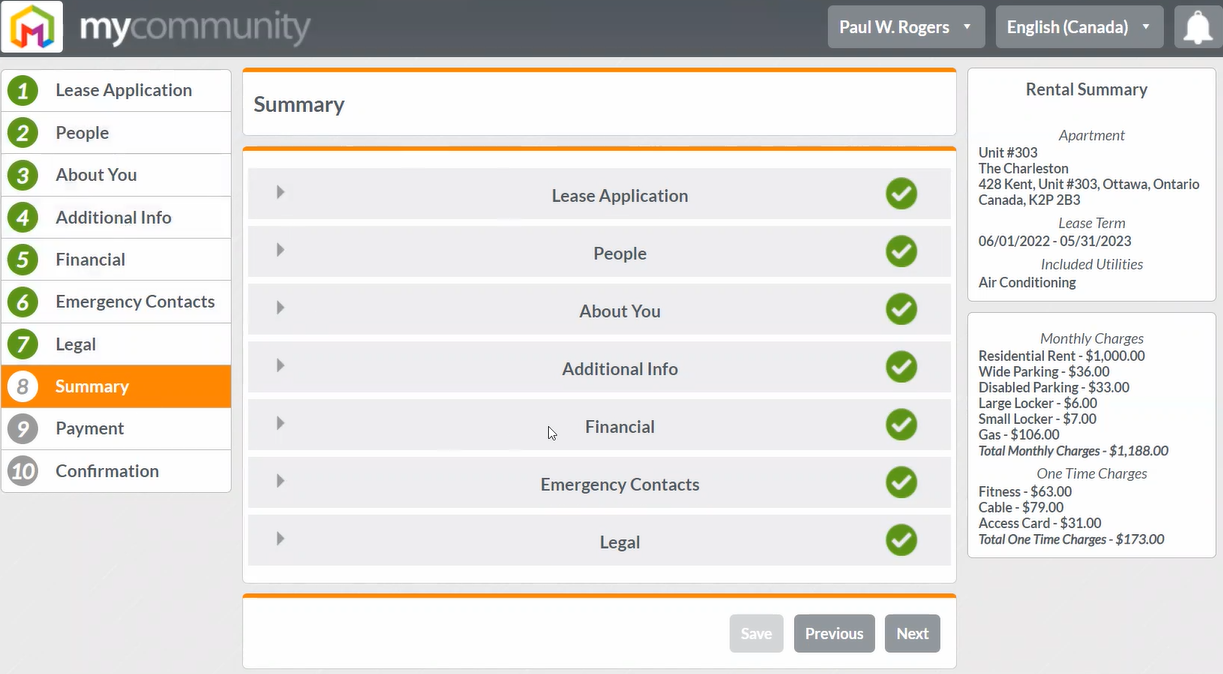
If all sections are green, scroll to the bottom and press next.
9.) Payment
This section allows you review charges and to enter your payment information.
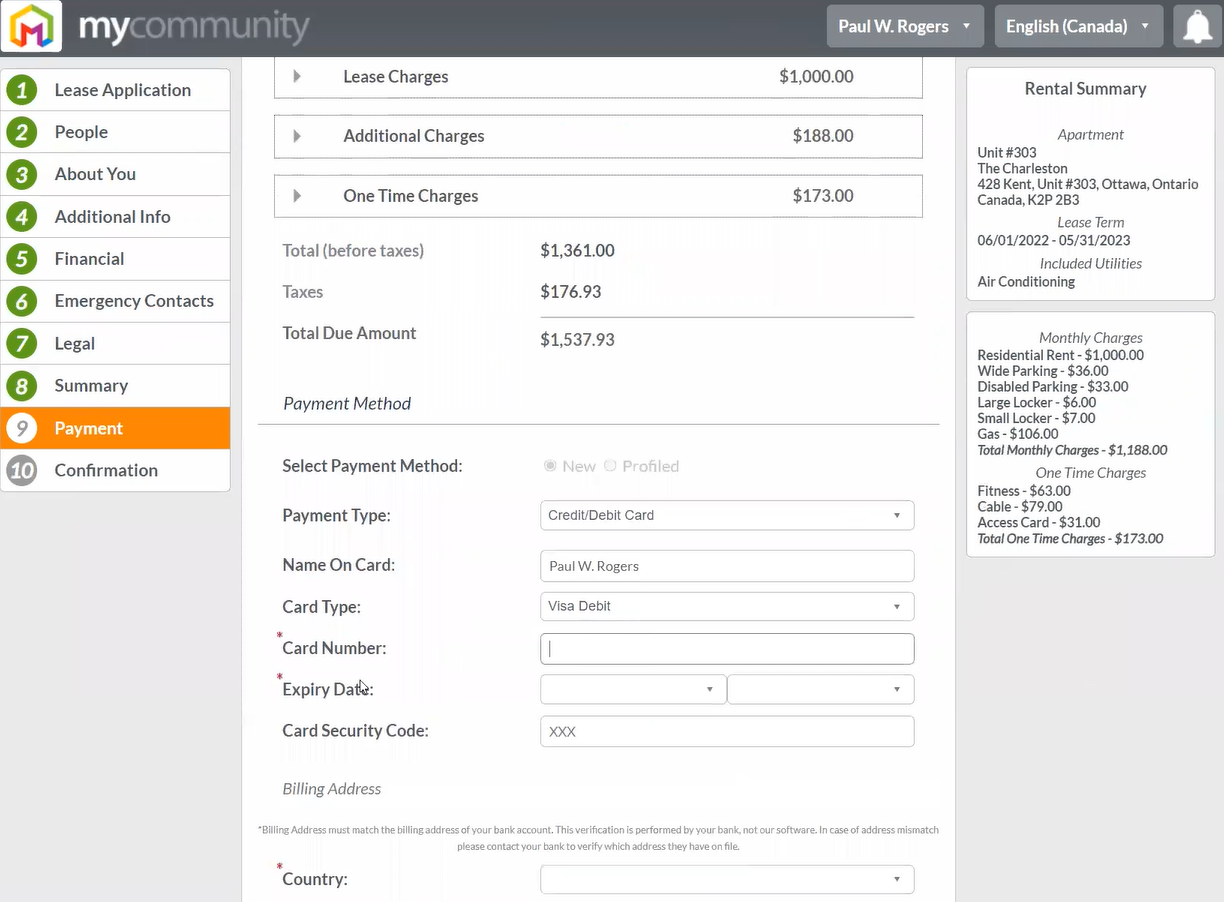
Please note any charges will be deducted from your provided payment method only if you are approved for the lease.
Once you've entered your payment methods, scroll to the bottom and press 'next'.
10.) Confirmation
In the final section, you will review three areas and then confirm your application submission.
Initially, you will review your First Payment Details which will be charged only if your lease application is approved.
Secondly, you will also be asked to agree to the terms of the privacy policy set forth by your property manager
Finally, you will be able to type your name in a text box to electronically sign the lease application. Please read the disclaimer for how digital signatures work.

Finally, scroll to the bottom and press 'next'.
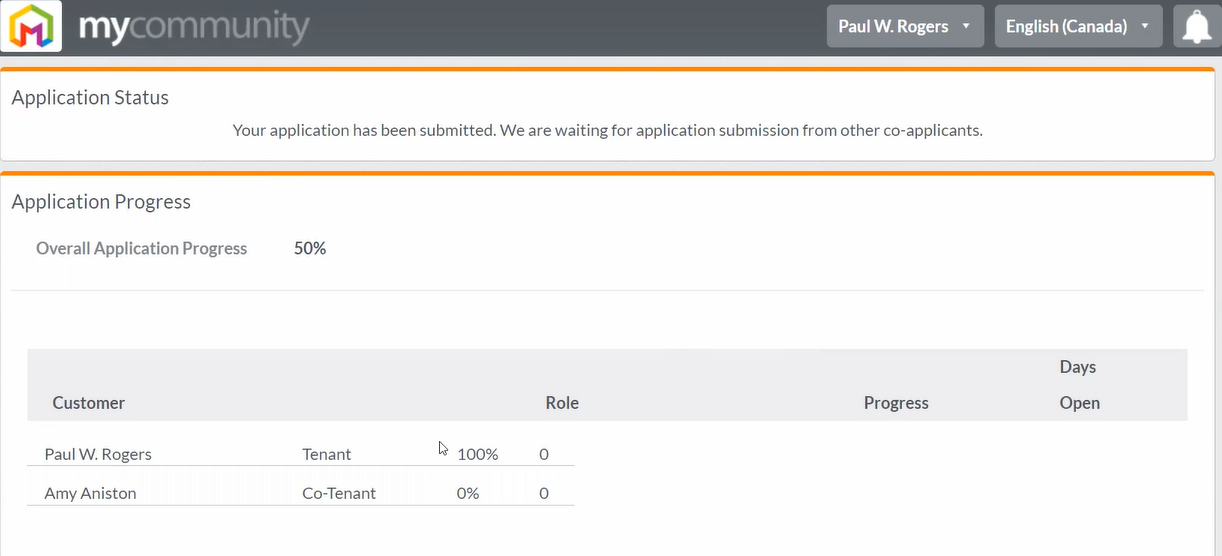
Application Submission & Review
Once you've completed all 10 steps, you will receive an email from your property manager with all pertinent information as they review your application.
Additionally, if you entered any co-tenants during the second step, your submission will trigger an email to be sent to the co-tenants to fill out applications as well.
You are able to see the progress of all tenants and co-tenants from the MyCommunity web portal.
If you receive an email from your property manager that you've been approved, congratulations!
You can refer to our article on getting started with the tenant portal for more information on signing your lease, setting up auto pay or purchasing insurance.