From the main menu, click on Organization--> Vendor--> Add new vendor.
The Setup for Vendors is broken down into Several Tabs:
General
Restricted Access
Contacts
Account Info
General Tab:
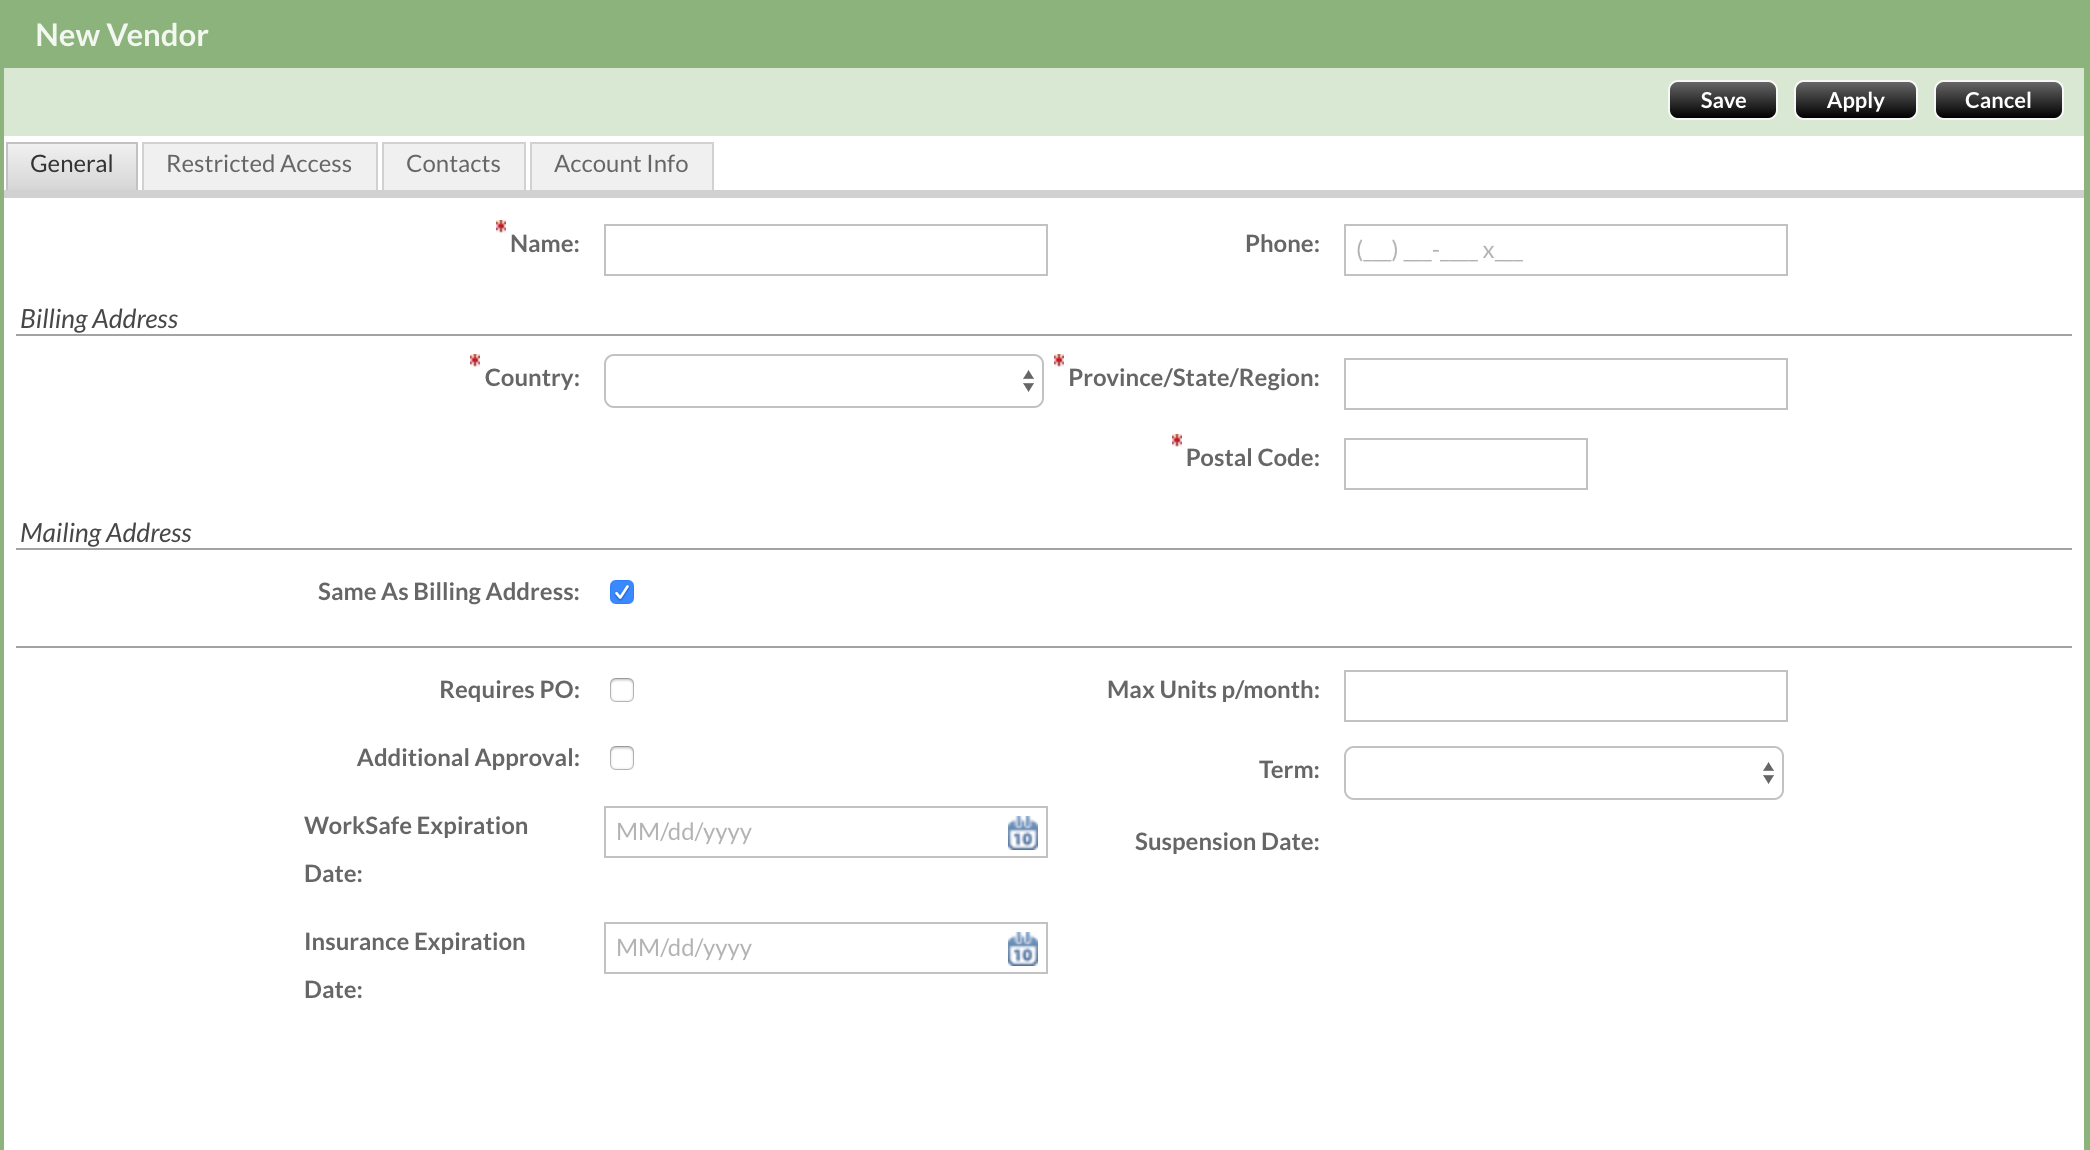
- Name and Billing Address are mandatory
- Mailing address should be entered, if it is different from the billing address.
- Requires PO indicates if the invoice requires a matching Purchase Order
- Additional Approval means that PO issued for this vendor requires an additional approval, even if it is within price limit.
- Registration Number is used to store vendor’ registration ID (for example, GST #).
- Max Units per month shows capacity of the vendor: how many units this vendor can work on within calendar month. Leave blank and discuss setup with your Customer Success Manager.
- Term shows a number of days to be added to the invoice due date when calculating Due Date of the invoice:
Default (empty) – immediate, i.e. Due Date is equal Invoice Date
Net 15 – Due Date is Invoice Date + 15 days
Net 30 – Due Date is Invoice Date + 30 days
Net 60 – Due Date is Invoice Date + 60 days
Net 90 – Due Date is Invoice Date + 90 days
- Suspension Date is updated by the system to the date when the vendor is cancelled. Important notes:
- Cancelled vendor will not be an option in Inspections and Invoicing modules.
- Cancelled vendor can be resumed, in which case suspension date becomes empty.
Restricted Access:
You have the ability to limit Vendors and their functions. This is very useful for organizations that want to control what Vendor is used for a certain purpose or for certain properties.
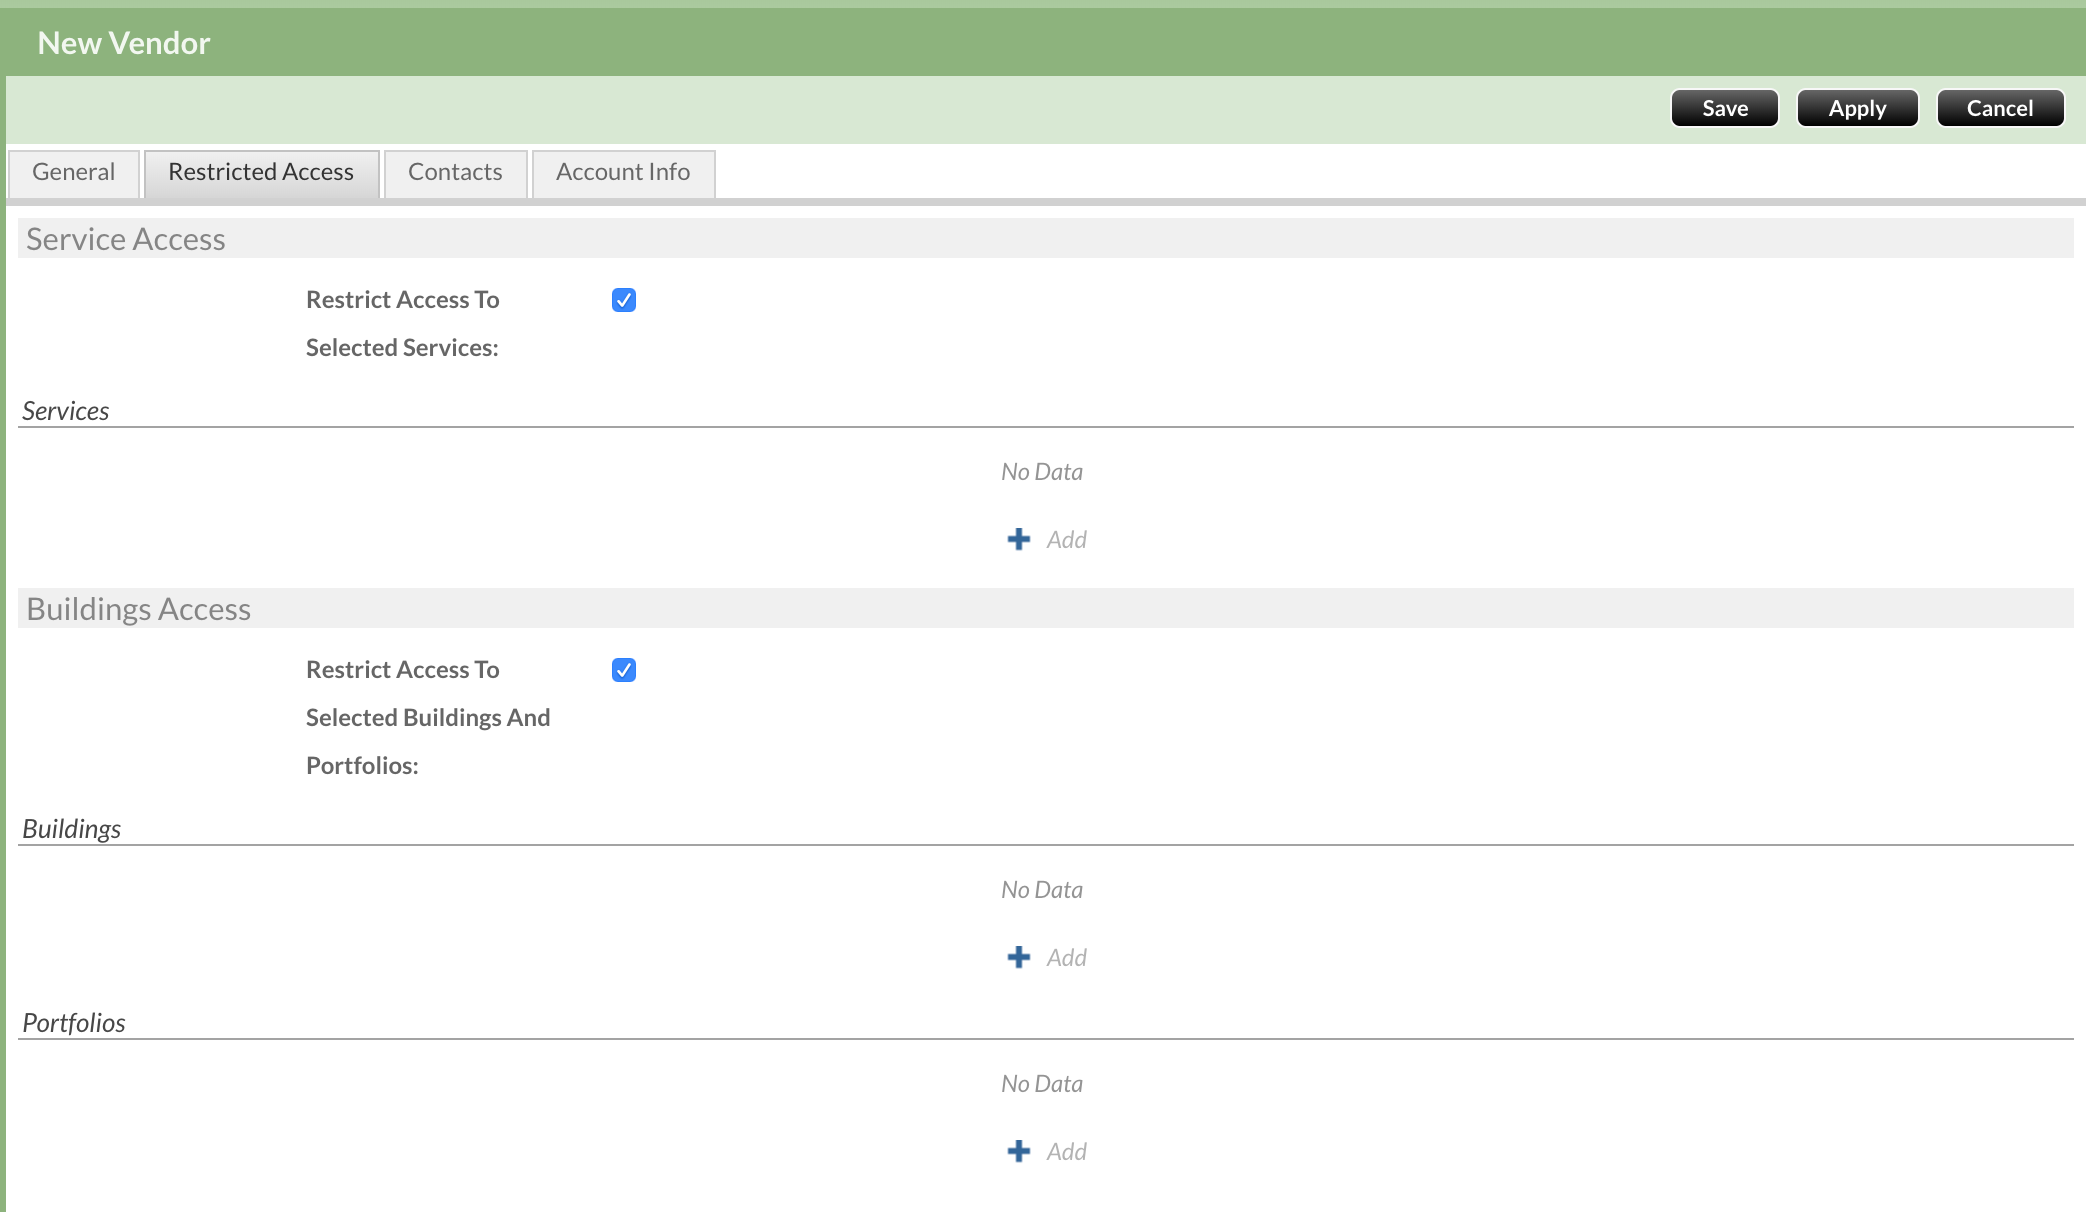
Restrict Access To Selected Services:
By Checking this box and +Add Services will limit this Vendor for specific services (Ie. Snow Removal) and will be the only choice given when that service is selected.
NOTE: If the Service you need it not listed you can create Services. Article HERE
Restrict Access to Selected Buildings And Portfolios:
Checking this box and adding specific Buildings and/or Portfolios will restrict the use of this Vendor for those properties only
Based on the criteria set above, vendors are selected to perform the work identified during unit/building inspections and Purchase Order Generation
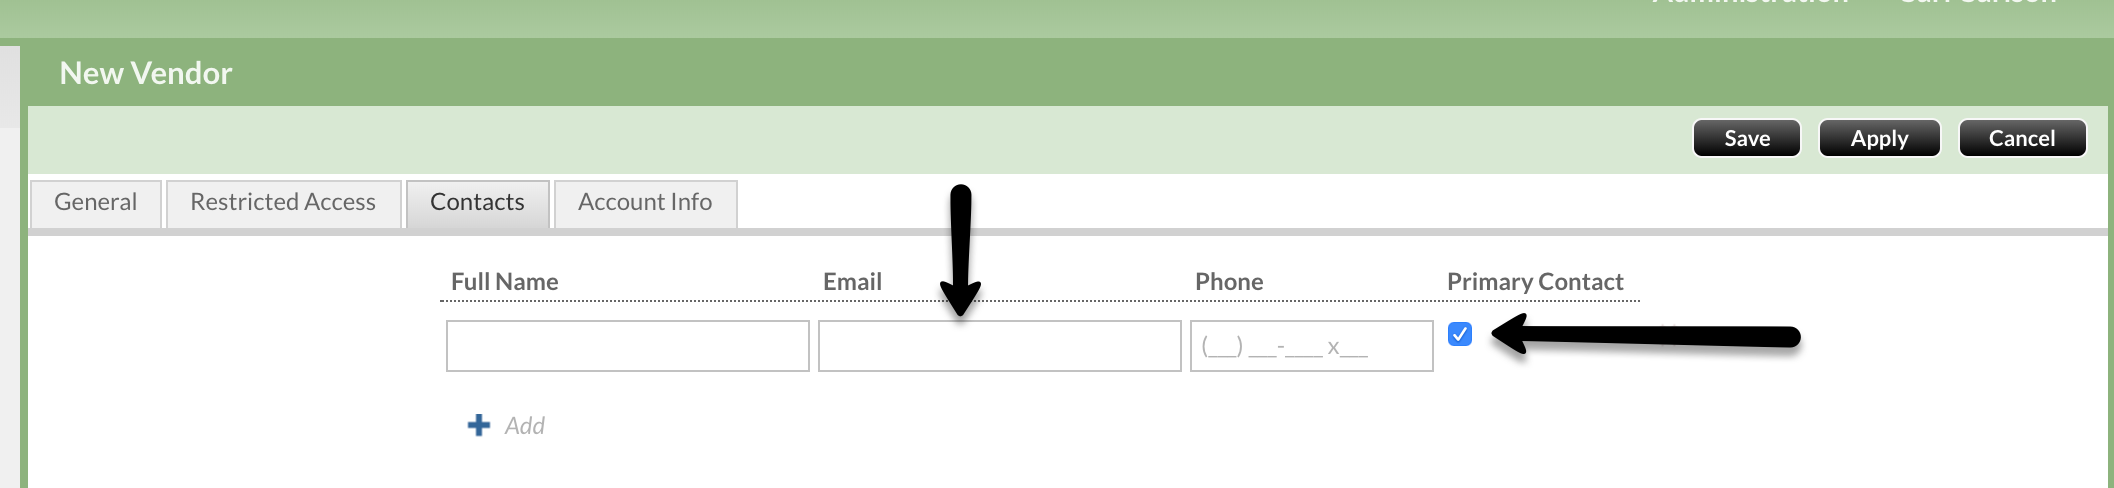
Contacts:
In this Tab you can add the various contacts for the Vendor.
NOTE: Adding an EMAIL and making a contact DEFAULT will enable them to receive an email of an approved Purchase Order automatically
Account Info:
This section will enable electronic vendor payments (COMING SOON!)